
MOV to iPhone Converter

MOV is a container video format, the MOV files from different sources may contain different codec inside. Therefore, many iPhone users find their iPhone should not play MOV videos, or just show poor video quality, this is because iPhone only supports H.264 and MPEG-4 codec.
To make the unknown MOV videos recognized by iPhone, you need to convert such MOV videos to iPhone compatible formats like H.264 MP4 or MOV. Here I strongly recommend iOrgsoft MOV Video Converter to you. This software provides you with the easiest way to convert all MOV videos to iPhone for playback smoothly. In addition, this software can also convert other videos such as MKV, AVI, WMV, FLV, MPG and more to iPhone for playing. If you are a Mac user, you can use the Mac Video Converter to complete this conversion.
Secure Download
Secure Download
Free download and install the MOV to iPhone Converter
When finish the installation, run the program. You’ll see the interface as below:

Add MOV video
Click the "Add" button and browse PC to load the MOV file(s) you want to convert. In the part, you can preview the imported .mov movie with the built-in player.

Set output file format
Under the menu of "Convert to", select "iPhone" in the drop-download list of output file formats.

Edit video (Optional)
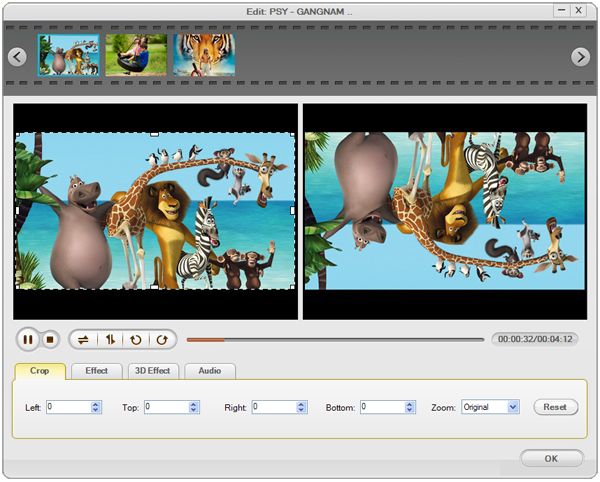
If you hope to further edit the loaded video, go on the section. Click "Edit" button, you will see three items-Crop, Effect and Trim.
In the "Crop" section, you can set each value to crop your video and the crop frame will move accordingly. Also, you can select an output aspect ratio from the Zoom list. There are four choices available: Original, Full screen, 16:9 and 4:3.
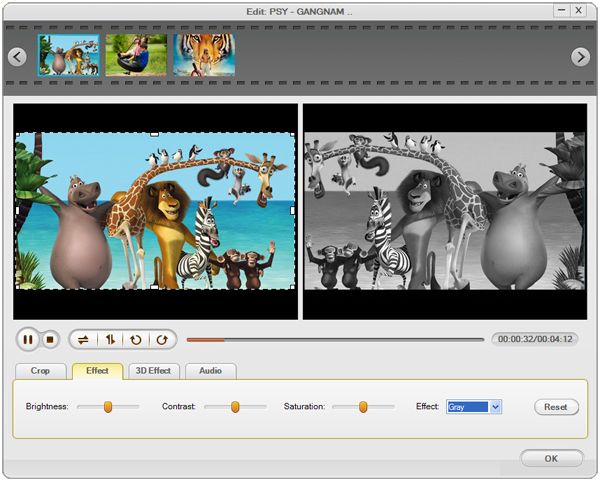
Switch to "Effect" button, you can be allowed to set brightness, contrast and saturation. You could select the play effect such as: Gray, Emboss or Old films and then adjust it to get the best effect as you need.
The Trimming function helps you to trim or capture any time-length segment from the source video file.

Start the MOV to iPhone conversion
Hit "Convert" to run the conversion from MOV to iPhone file format.


