Upload SWF to YouTube mac

How to share SWF on YouTube on Mac with SWF to YouTube Converter for Mac?
“I want to convert a video to be able to upload it to YouTube Video. The video is in .swf format and I need to convert it to AVI, FLV or some other format that YouTube accepts. Does anyone know some good software that can manage that? I need something that's really easy to use. Millions of thanks!”
You can encounter such problem also when you want to share your newly made SWF files on YouTube as YouTube is not friendly to flash files, or else you have to insert some flash player plugin somewhere, sort of. Now if you don’t want to bother so much, iOrgSoft SWF to YouTube Converter for Mac can help you out.
This is a converter specially designed for SWF flash files, to enable flash files to be played back without Adobe Flash Player or its plugin. With it, you can easily convert your SWF files to any other different format files so that you can finally play back SWF files on iPhone, iPad, etc. and of course, you can freely upload SWF files to YouTube on Mac freely. Then how to achieve that with this Mac SWF to YouTube converter? Read the guide below to have a try:
Secure Download
Secure Download
Import SWF file by dragging
Importing SWF easily either by dragging it to the SWF converter, or clicking the “Select File” button. Pay attention that ONLY ONE .swf file is allowed to import for each time, no batch converting here.
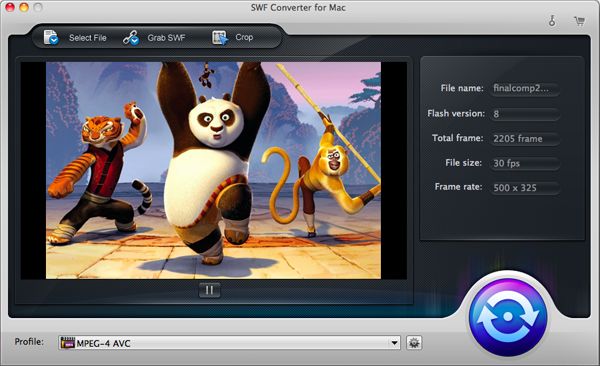
Choose the optimal format for YouTube for output
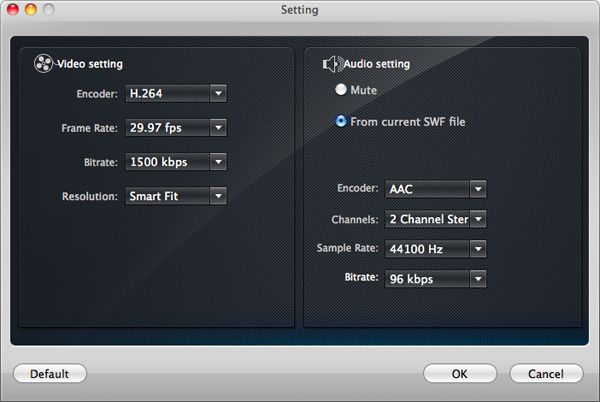
To find out the best output format for YouTube, you can do like this easily: first strike the “Profile” bar, and choose “Website share”-> “YouTube MP4(*.mp4)”. Also, if you want to further set the specs of your output file, you can hit the “tool” button besides “Profile” bar. Then you can set about the specific parameters on video and audio.

Convert SWF to YouTube on Mac
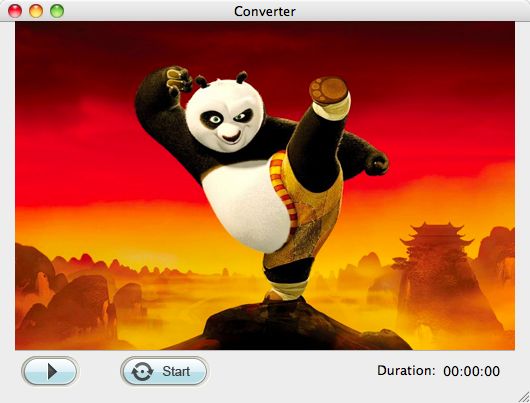
By the end, you can begin the conversion by hitting the big round and blue icon, right next to the “Profile” bar. Then hit “Start” on the pop-up window. The conversion is now started.